Portrait creators
Retouch a distracting background, soften harsh light, or adjust clothing while keeping the person recognizable.
You get a polished portrait without losing the original expression or pose.
ai image generator from textEdit with intent
An ai image editor helps you improve an existing picture instead of starting from a blank canvas. Upload a photo, describe the change you want, and guide the result with focused edits for cleaner, more useful visuals.
Know the difference
Editing begins with a source image and a specific change. A general generator begins with an idea, so the two workflows need different prompts, controls, and expectations.
Choose a photo, illustration, product shot, or concept image that already contains the subject, framing, or style you want to preserve.
State what should change and what must remain stable. For example, ask to remove an object, change the setting, or adjust the lighting.
Inspect the result for edges, faces, text, and proportions. If needed, use a shorter follow-up instruction rather than rewriting the entire request.
Built for real work
An editor is most useful when the image already has value and you need controlled transformation rather than an entirely new composition.
Retouch a distracting background, soften harsh light, or adjust clothing while keeping the person recognizable.
You get a polished portrait without losing the original expression or pose.
ai image generator from textPlace a product in a cleaner setting, remove reflections, or create alternate background treatments for a campaign.
You can explore presentation options before committing to a full photo shoot.
ai image generator from imageUpload a room photo and request a new wall color, furniture arrangement, lighting mood, or decorative style.
You can compare practical design directions using the space you already have.
How to take a picture and turn it into an AI image?Turn a rough visual into a thumbnail, social graphic, poster concept, or editorial variation with a precise instruction.
You move from one usable asset to several consistent creative options.
ai image generator examples freeSee the workflow
The strongest edits preserve the parts that already work. Start with a clear source image, name the intended change, and compare the result against the original before making another pass.
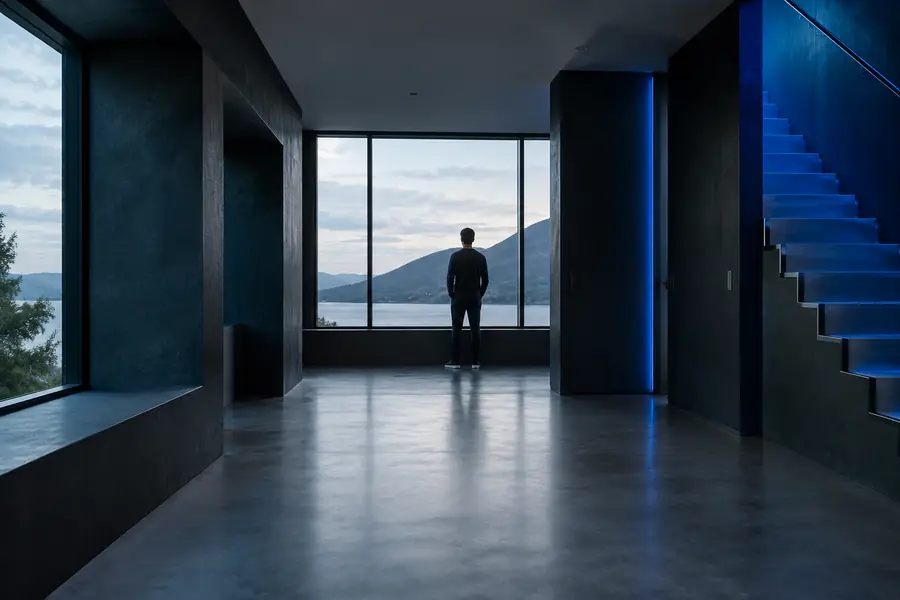 Before
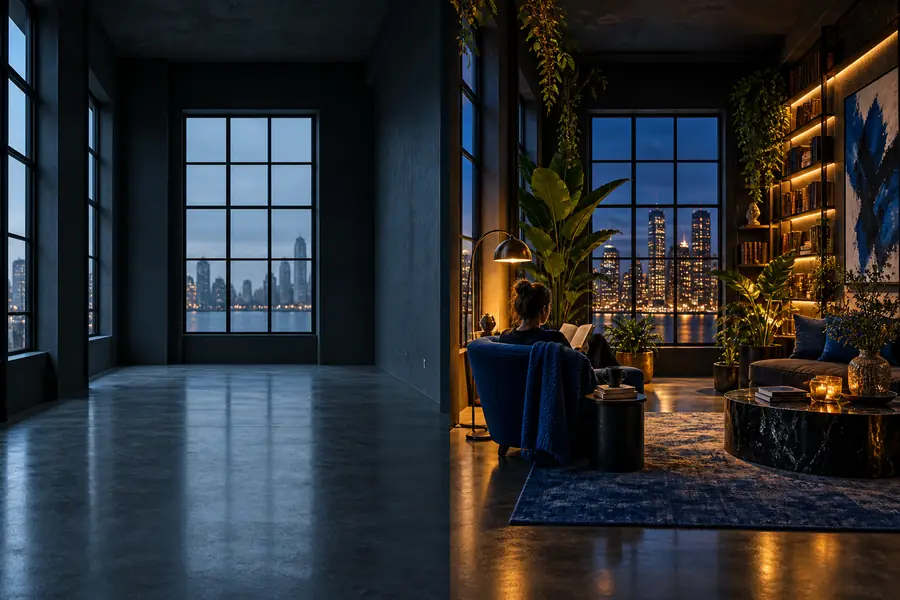 After
After
Choose the right tool
The editor entry point is better for controlled changes, while a general generator is better when there is no source image to preserve. Neither removes the need to review the final result.
Starting point
AI image editor
An uploaded image or visual reference
General image generator
A written concept or prompt
Primary goal
AI image editor
Change selected parts of an existing image
General image generator
Create a new image from an idea
Consistency
AI image editor
Better suited to preserving subject and composition
General image generator
More freedom, with more variation between results
Best prompt style
AI image editor
Specific instruction plus what to keep unchanged
General image generator
Description of subject, setting, style, and mood
Useful for
AI image editor
Retouching, background changes, and variations
General image generator
Concept exploration and first-draft visuals
Main limitation
AI image editor
Small details, text, hands, and complex edges may need review
General image generator
Exact likeness, layout, and object placement may drift
Iteration pattern
AI image editor
Make one targeted change at a time
General image generator
Adjust the full scene until the concept is close
Set expectations
These simple checkpoints make an editing pass easier to evaluate and help you decide when a second instruction is more useful than a longer prompt.
Common questions
Answers for choosing an editor workflow and getting more reliable results from an existing image.
An AI image editor changes an existing picture according to a written instruction. It can help remove objects, replace backgrounds, adjust lighting, or create variations while attempting to preserve important parts of the original.
Yes, background removal and replacement are common editing tasks. Describe the new setting, lighting direction, and perspective, then check the subject edges and shadows because those details can require refinement.
Name the exact change first, then state what should stay the same. A useful prompt might say, “Replace the busy background with a quiet studio wall, keep the subject, pose, clothing, and natural proportions unchanged.”
Yes. An editing workflow starts from your photo and focuses on a targeted transformation rather than generating every element from scratch. Results can still vary, so compare the output with the source before using it.
Inspect faces, hands, text, logos, fine edges, reflections, and shadows at a closer view. Also confirm that the edit does not introduce an inaccurate detail or remove information that matters to the image’s purpose.