Photo to image

How to take a picture and turn it into an AI image? A practical workflow

How to take a picture and turn it into an AI image? Upload a clear source photo, describe the changes you want, and let an AI image generator create a guided variation without losing the original idea.

Free to start · no signup

Who needs a photo-to-image workflow?

An image-based workflow is useful when the starting picture already contains the subject, layout, or mood you want to preserve.

Home designers

Upload a room photo and request a different style, palette, or furniture arrangement.

Explore design directions before making physical changes. For a words-first concept, use an ai image generator from text when you do not have a reference photo.

ai image generator from text
Creators and marketers

Start with a product or campaign photo, then ask for a new background, season, or visual mood.

Produce several on-brand concepts from one source image while keeping the main subject recognizable.

ai image generator from image

Artists and photographers

Provide a sketch, portrait, or landscape and describe a controlled change in lighting, medium, or atmosphere.

Compare creative directions without rebuilding the composition from scratch.

ai image generator from image

Small business owners

Upload a basic storefront or product photo and request a cleaner presentation for a social post.

Create useful draft visuals quickly, then review details before publishing.

ai image generator from text

How photo-to-image workflows evolved

The route from a fixed photograph to a guided AI variation developed through several practical advances in image generation.

  1. Reference images guided manual edits

    Creators used layer masks, filters, compositing, and retouching tools to change a photo while protecting selected details.

  2. Image translation became more accessible

    Neural image-to-image methods made it easier to transfer styles, adjust domains, and create variations from visual references.

  3. Text guidance joined the reference image

    Users could combine an uploaded image with written instructions, giving the model both visual structure and an intended direction.

  4. Consumer image tools added simple controls

    Web-based AI image generators made upload, prompting, variation, and export available in one short workflow.

  5. Hybrid creation is the default

    The strongest process often combines a source photo, a precise prompt, iterative comparisons, and human review of the final image.

Image import software and settings

Choose the route that matches the source you have and the amount of control you need from the AI image generator.

Photo-led workflow
Text-led workflow

Starting input

Photo-led workflow

A photograph, sketch, screenshot, or visual reference

Text-led workflow

A written description with no required source image

Best for

Photo-led workflow

Preserving composition, pose, subject, or room layout

Text-led workflow

Inventing a scene from a blank starting point

Prompt role

Photo-led workflow

Explains what to change and what to keep

Text-led workflow

Defines the complete subject, setting, style, and lighting

Consistency

Photo-led workflow

Usually gives the model a stronger visual anchor

Text-led workflow

Requires more wording to recreate a specific arrangement

Main risk

Photo-led workflow

Unwanted source details may remain in the result

Text-led workflow

Important proportions or relationships may be invented incorrectly

Useful file types

Photo-led workflow

A common image file with a clear, well-lit subject

Text-led workflow

No image file is required

Ideal first instruction

Photo-led workflow

Name the subject, preserve list, and requested transformation

Text-led workflow

Describe the subject, scene, visual style, and composition

Review priority

Photo-led workflow

Check identity, edges, hands, text, and changed areas

Text-led workflow

Check composition, anatomy, typography, and prompt accuracy

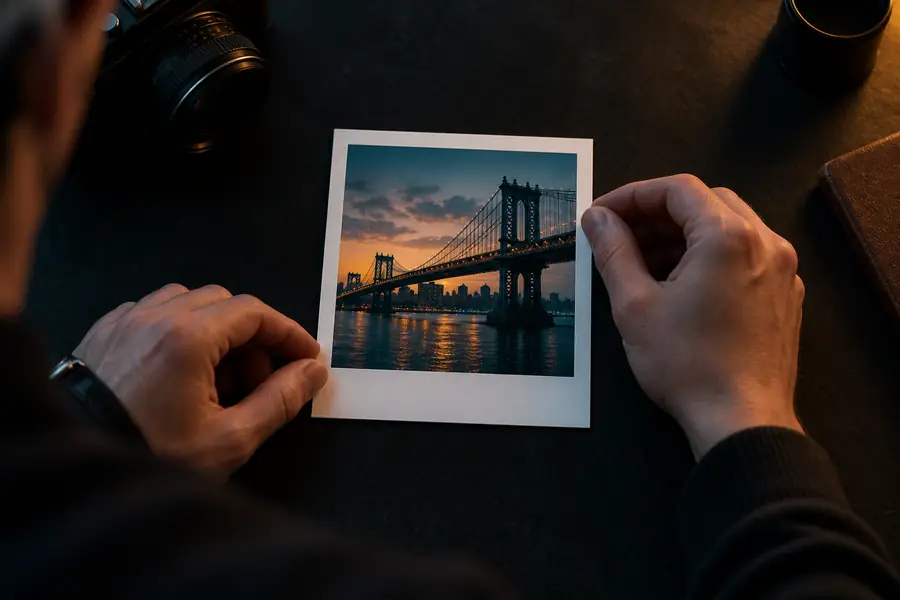
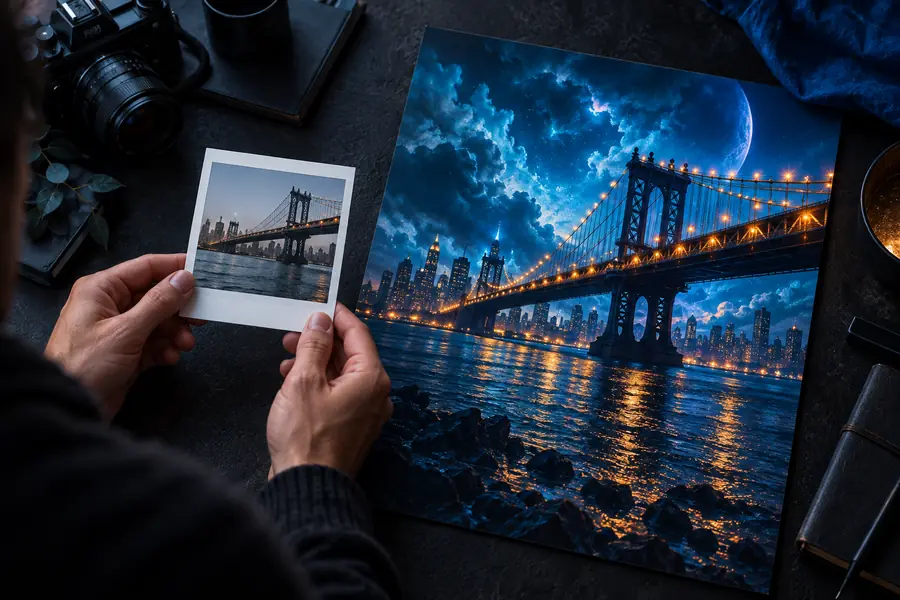
Before and after: source photo to AI image

The source establishes the visual anchor; the instruction supplies the direction. Compare the original and the generated variation before choosing a final version.

Source photo prepared for an image transformation Source photo
AI-generated variation based on the source photo AI variation
The result should preserve the requested subject while changing only the details named in the prompt.

Common import limits and workarounds

A photo-to-image tool is helpful, but it does not understand every source detail perfectly. These checks reduce avoidable failures.

Tiny or blurry subjects

The model may invent facial features, lettering, or object edges when the uploaded subject has little visible detail.

Workaround

Crop closer, improve lighting, and remove unnecessary background clutter before uploading.

Text rarely stays exact

Signs, labels, logos, and small interface text can be distorted during generation.

Workaround

Leave text out of the transformation and add accurate lettering afterward in a design editor.

Major pose changes can break anatomy

A request that changes viewpoint, body position, or object geometry may produce awkward proportions.

Workaround

Make smaller edits first, then use the strongest intermediate result as the next reference.

One photo cannot reveal hidden details

The model must guess what is outside the frame or behind an object, so unseen areas may not match reality.

Workaround

Provide additional reference images or describe the hidden details explicitly.

Import, prompt, and refine

A reliable AI image generator workflow separates the source image from the transformation request so each part is easy to check.

  1. 1

    Prepare the source

    Choose a sharp photo with the main subject visible. Crop distractions, check orientation, and keep a copy of the original.

  2. 2

    State what stays and changes

    Write the subject, preserved details, requested edits, setting, lighting, and style in that order. Specific verbs such as replace, recolor, remove, or extend are easier to follow.

  3. 3

    Compare and refine

    Generate a first variation, inspect the changed areas, and revise one issue at a time. Save the version that best matches the source and your intended use.

Questions about turning a picture into an AI image

These answers cover the practical questions people ask when converting a photo into an AI-generated variation.

Upload the picture to an image-to-image tool, then describe the transformation you want in plain language. Mention what the AI image generator should preserve, what it should change, and the style or setting you prefer.

Yes, a clear phone photo can work well if the subject is visible and reasonably well lit. Avoid extreme blur, heavy compression, or a subject hidden by reflections and clutter.

Describe the source subject first, then list the requested change and the details that must remain. For example, ask to preserve the person’s pose while changing the clothing, background, lighting, or artistic style.

Not necessarily. A photo-to-image process uses the source as guidance, but it may alter faces, hands, text, fine patterns, or hidden areas; review several versions before using one publicly.

Often, yes, especially when the subject is clear and the requested edit is specific. Say that the person or product should remain unchanged, and inspect edges for unwanted blending after generation.

Start creating
Start creating