Exact text may be unreliable
Small labels, long headlines, menus, and complex typography can appear misspelled or distorted.
Workaround
Generate the visual without important wording, then add final text in a design or presentation tool.
Beginner guide
This ai image generator tutorial for beginners takes you from a blank prompt to a usable image through two simple workflows. Choose the path that matches your idea, then improve the result with small, deliberate changes.
Start with intent
Most beginners fit one of two situations. Decide whether you are starting with an idea or refining something you already have; the right route makes the first result easier to judge.
Choose Path A when you can describe the subject, setting, mood, and visual style but do not have a source image yet.
Choose Path B when you want to reinterpret a photo, sketch, layout, or existing image while preserving some of its structure.
Set one practical goal before generating: a social post, concept board, room preview, character study, or visual starting point.
Before you begin
You do not need specialist software or design vocabulary. A few clear decisions are enough to give the model useful direction.
Without every one of these the route does not run.
A specific subject or scene, such as a kitchen, product, landscape, or character
Avoid starting with only a broad word like “beautiful.”
A purpose for the image, including a poster, thumbnail, mood board, profile image, or concept
Three or four visual details, such as lighting, materials, color palette, camera angle, or season
Time to compare more than one variation instead of accepting the first output
Skip any of these and the route still works — they only make it faster.
A rough idea of the desired shape, such as portrait, landscape, square, or banner
Choose this when the image will be placed in a specific layout.
Continue learning
How the workflow evolved
The beginner workflow is simpler today because image generation has moved from isolated experiments toward an edit-and-review process.
Early public image tools made it possible to describe a scene in ordinary language and receive a visual interpretation.
Users learned to specify subjects, composition, lighting, materials, and style instead of relying on a single descriptive adjective.
Image-to-image methods gave beginners a way to guide pose, layout, color, or overall visual direction with an existing reference.
A strong result is now usually built through small revisions: change one variable, compare outputs, and keep the clearest version.
Beginners can start with a concrete use case, inspect the output, and improve the prompt without needing to understand the model behind it.
Keep expectations clear
An ai image generator is useful for exploration, but it is not a substitute for checking details, rights, or suitability before using an output publicly.
Small labels, long headlines, menus, and complex typography can appear misspelled or distorted.
Workaround
Generate the visual without important wording, then add final text in a design or presentation tool.
Finger counts, jewelry, reflections, and identical product details may change between generations.
Workaround
Use a simpler composition, request one subject at a time, and inspect close-up areas before choosing a result.
Image-to-image guidance can preserve broad composition while changing identity, proportions, texture, or fine details.
Workaround
Describe what must remain stable and review several variations rather than expecting a pixel-accurate edit.
A draft can have the wrong aspect ratio, resolution, visual tone, or licensing suitability for its intended destination.
Workaround
Define the final use first, check the output at its real display size, and verify permissions before publishing.
See the difference
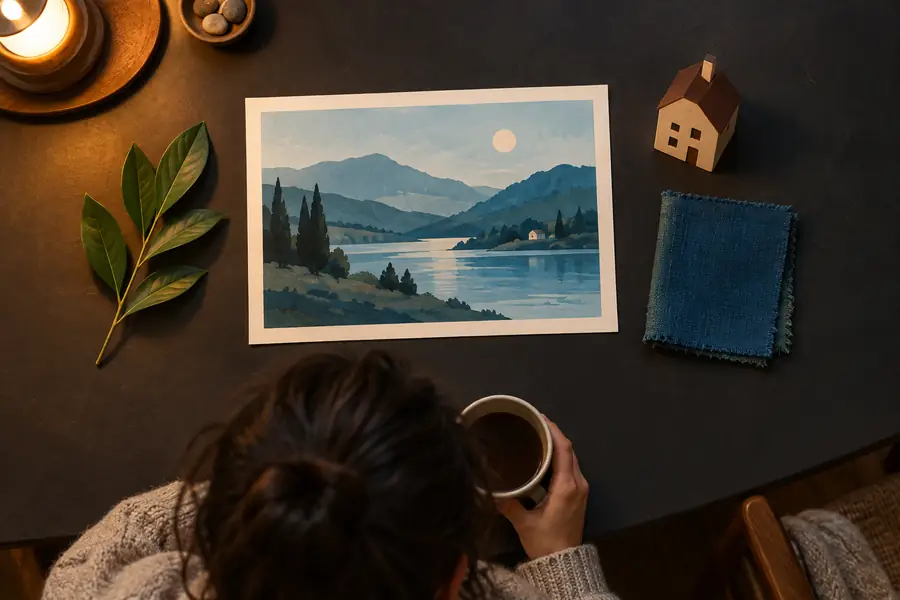 Starting reference
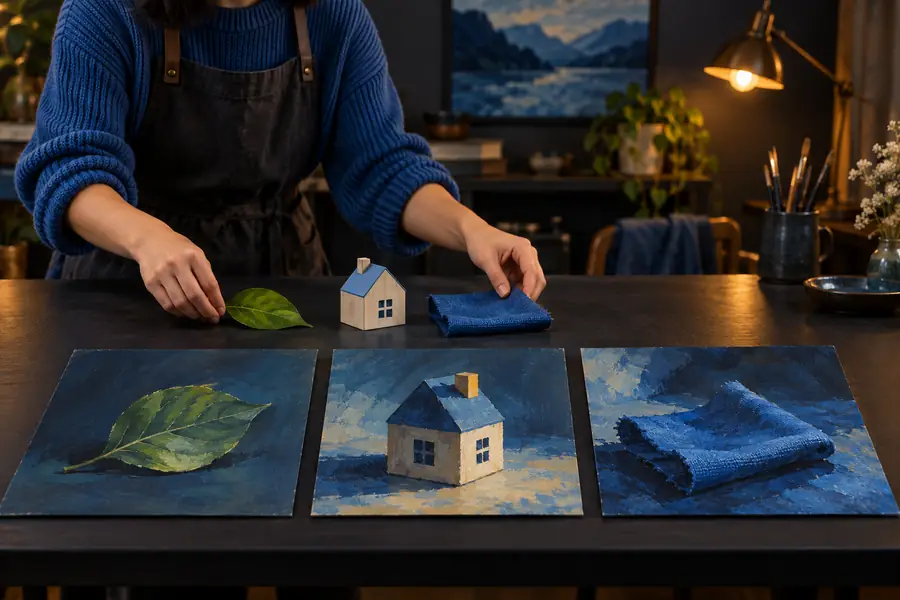 Generated direction
Common beginner questions
These answers cover the questions beginners most often ask before trying an image workflow for the first time.
Start with the main subject and add the setting, action, viewpoint, lighting, and overall style. For example, describe who or what is shown, where it is, how it should look, and what the image is for.
There is no ideal word count. Begin with one clear sentence containing the subject and purpose, then add two or three details that matter most; excessive adjectives can make the direction less focused.
The model interprets language rather than reading your intention directly. Make the composition more explicit by naming the subject position, camera angle, lighting, materials, and details that must be included.
Yes. Generate a small set, compare the composition and important details, then revise one part of the prompt at a time. This makes it easier to learn which words actually change the result.
You can use an output as a draft, concept, or finished visual when it meets your needs, but check the tool’s current terms and the requirements of your project. Review text, faces, logos, recognizable subjects, and image rights before publishing.