Practical tutorial
How do I use an AI image generator? Build better images step by step
How do I use an AI image generator? Start with a clear visual goal, describe it in useful detail, review the first result, and refine one variable at a time.
Core workflow
Numbered steps for creating an image
A dependable image-generation workflow has three stages: define the visual brief, generate a first draft, then refine the details that matter most.
-
1
Define the visual brief
Decide what the image must show, where it will be used, and what mood it should create. Note the subject, setting, composition, lighting, color direction, and preferred level of realism before writing the prompt.
-
2
Write a focused prompt
Turn the brief into one clear description. Put the main subject first, then add the environment, action, viewpoint, lighting, style, and constraints. Specific visual language gives the model more useful direction than a long list of disconnected adjectives.
-
3
Generate and inspect
Create an initial image, then check the subject, anatomy, text, framing, contrast, and overall fit. Treat the first output as a draft. Keep what works and identify the single biggest change needed for the next attempt.
-
4
Refine one variable at a time
Change the weakest part of the prompt rather than rewriting everything. Ask for a closer crop, softer light, fewer background objects, or a different lens perspective so you can understand which instruction improved the result.
Before you begin
Prerequisites for a useful first result
You do not need design software or technical knowledge, but a few simple decisions make the process faster and the output easier to judge.
You must have
Without every one of these the route does not run.
-
A clear subject or scene to visualize
Name the main person, object, place, or event.
-
A purpose for the image
A social post, concept board, article, presentation, or personal project may need a different composition.
-
A basic visual direction
Choose a mood, color family, time of day, or style reference.
-
A willingness to review and revise
Useful results commonly come from a short sequence of focused attempts.
Nice to have
Skip any of these and the route still works — they only make it faster.
-
A reference image
Optional, but helpful when composition, pose, palette, or product shape needs to stay consistent.
-
Exact wording for signs or labels
Generated lettering can be imperfect, so plan to check and correct important text.
Quality check
Common errors and fixes
Comparing a rough prompt with a refined brief makes the most important improvement visible: every added detail should clarify the intended image, not merely make the sentence longer.
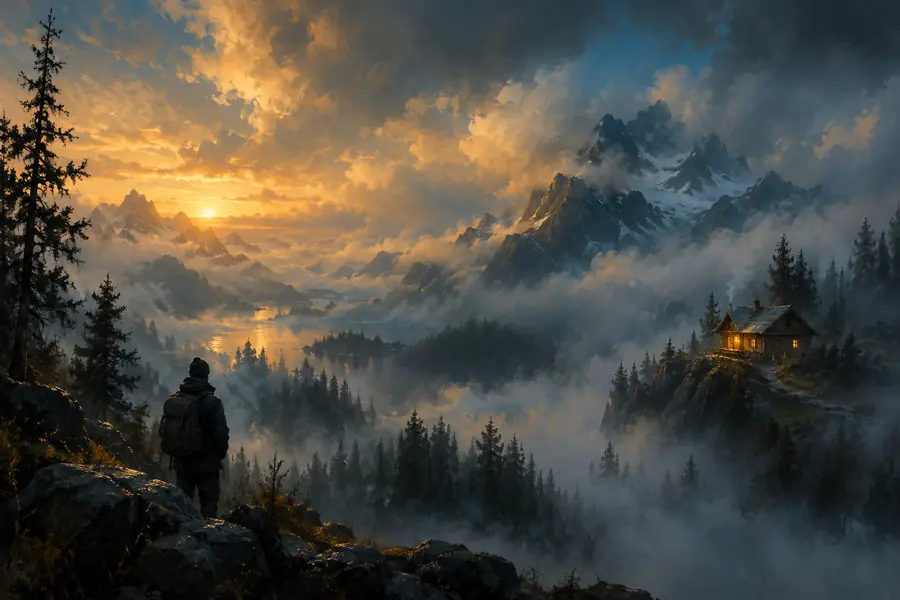 Vague prompt
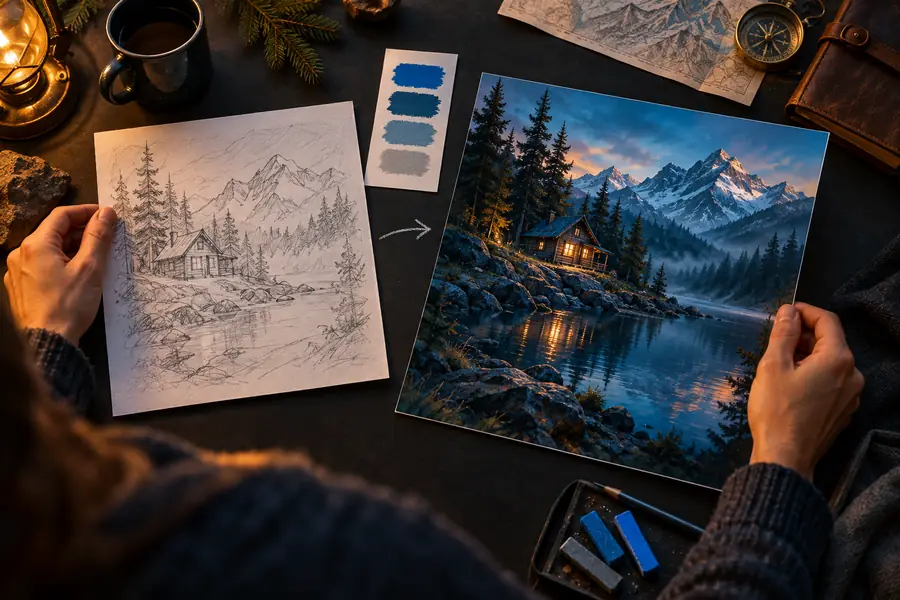 Directed prompt
Refine your method
Advanced tips for more consistent results
Once the basic workflow feels comfortable, small changes to prompt structure and evaluation can improve consistency without making the process complicated.
-
Separate essentials from decoration
Write the non-negotiable elements first: subject, action, setting, and composition. Add atmosphere, materials, color, and stylistic references afterward so the image generator can distinguish the core request from optional flavor.
-
Use concrete visual language
Replace broad terms such as beautiful or professional with observable details: soft window light, waist-up framing, matte ceramic surface, low-angle viewpoint, or restrained blue and ochre palette.
-
Preserve successful wording
When an output gets the pose, layout, or mood right, copy the working prompt before editing it. Make one meaningful adjustment per version so successful instructions are not lost.
-
Judge the image against its purpose
A striking image can still be unsuitable if the subject is cropped, the center is too busy for a headline, or the contrast is too low for its intended use. Review practical fit as well as visual appeal.
-
Check small details before sharing
Inspect hands, faces, repeated patterns, edges, shadows, and any visible lettering. If a detail carries factual or brand meaning, verify it manually instead of assuming the generated result is accurate.
Tutorial FAQ
Tutorial FAQ
These answers cover the questions people most often ask when they first begin working with an image generator.
Choose a subject and purpose, describe the scene in plain language, and generate an initial image. Then inspect the result and revise the most important weakness, such as composition, lighting, style, or an unwanted object.
Begin with the subject, then add the setting, action, viewpoint, lighting, mood, colors, and visual style. Include only details that support the intended result, and state important constraints clearly.
Image models interpret language probabilistically, so vague, conflicting, or overly crowded instructions can produce unexpected results. Simplify the prompt, put the most important idea first, and change one detail at a time.
No. A written prompt is enough for text-led generation. A reference image is optional and can help guide composition, pose, color, or the appearance of an existing object.
Describe believable lighting, materials, camera distance, depth, and environmental details rather than relying only on the word realistic. After generation, check anatomy, shadows, edges, and textures for artifacts.
There is no fixed number because the right stopping point depends on the purpose and the quality of the draft. Stop when the image communicates the intended idea clearly and passes a careful check of important details.